
1. Create a New Dataset
To get started:- Navigate to the Dataset Inventory page.
- Click + icon or New Dataset.
Name Your Dataset
You can enter a custom name or use the name auto-suggested by Visual Layer.Avoid using duplicate names.
Select Data Source
Choose where to upload your data from. Visual Layer supports the following data source types:- ZIP file
- Files or Folders
- Public Amazon S3
- Private Amazon S3
Preview Your Data
Once uploaded, Visual Layer generates a preview so you can validate your files.- To replace the selected source, click Edit and follow the prompts.
2. Add Annotations (Optional)
You can upload an annotation file at this stage to enrich your dataset.- Upload the annotation file and click Next.
- A new preview will show the dataset with annotations applied.
- Click Edit if you need to replace the file.
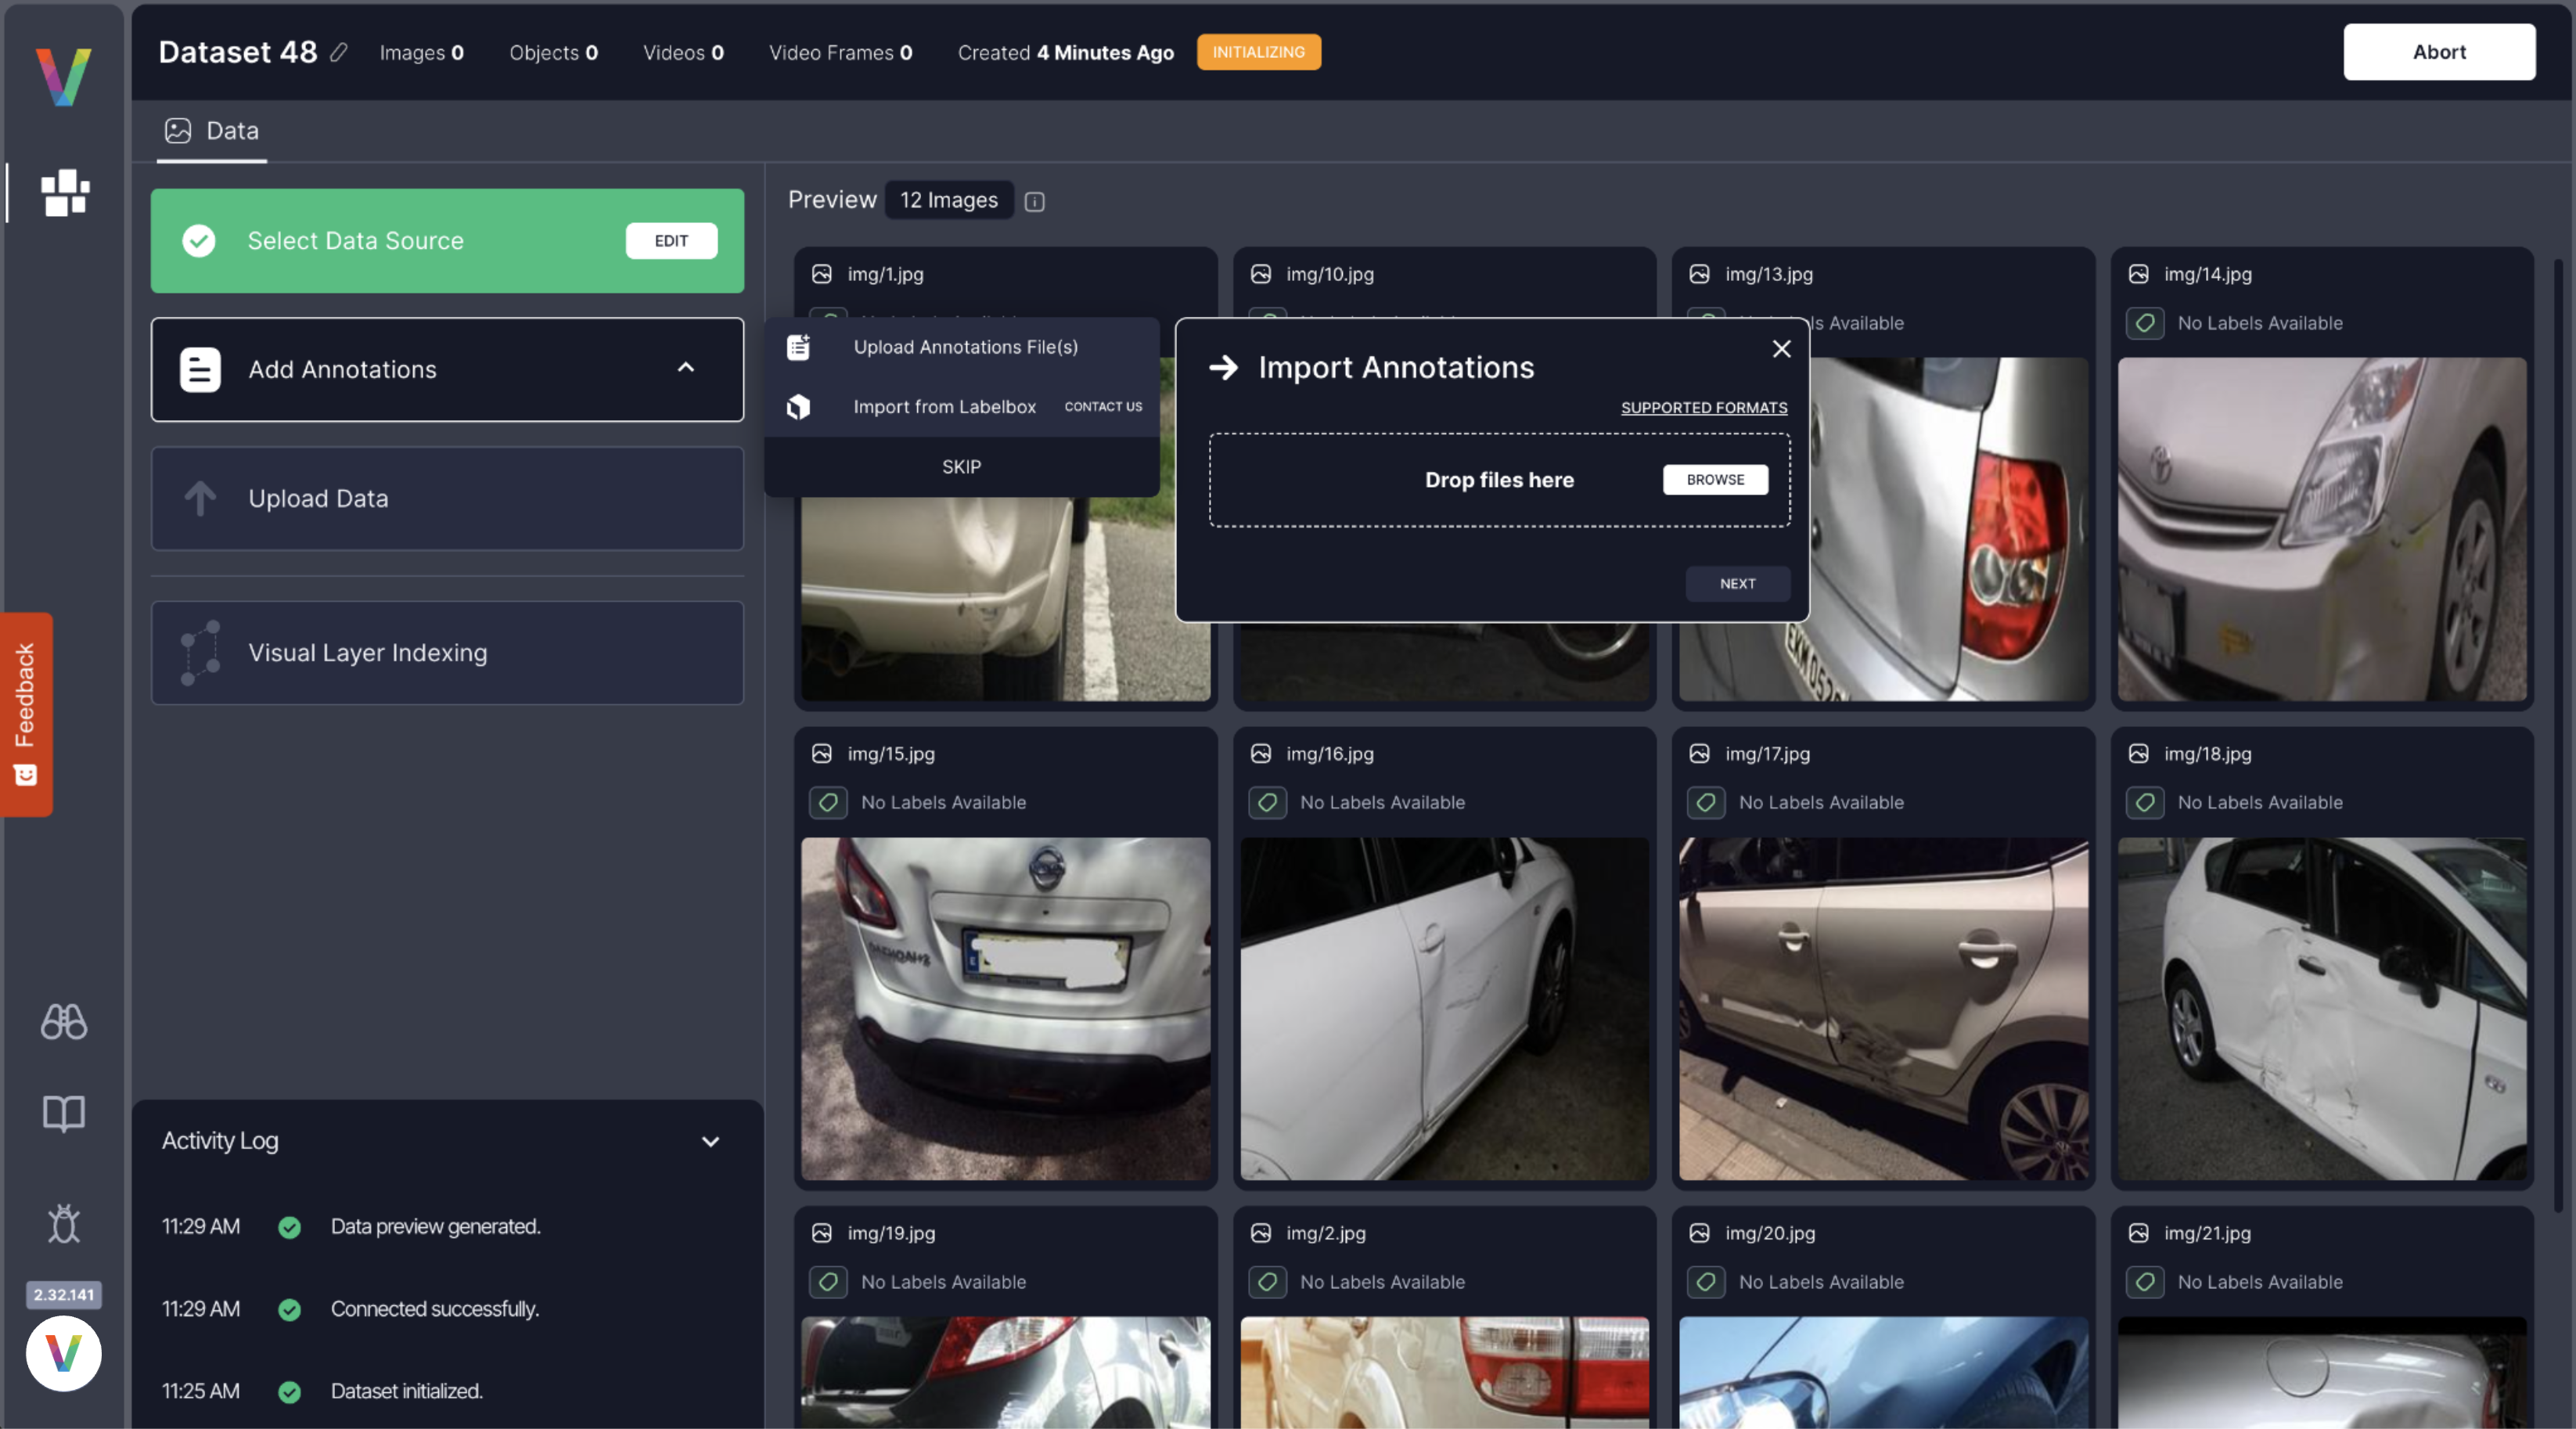
Skip this step if you don’t have annotation files.
For supported formats, see Upload Annotation.
3. Upload and Index
After confirming your data and annotations (if applicable):- Click Next to start the upload and indexing process.
- Uploads are subject to your current plan’s limits.
- You’ll receive an email when the dataset is ready.
4. Delete a Dataset
To remove an existing dataset:- Go to Dataset Inventory.
- Click the menu next to the dataset.
- Select Delete.
Deleting a dataset is irreversible.